Caring for a dog involves more than feeding them and taking them out for walks. One of the lesser-known but equally important responsibilities is nail grooming. If your dog has black nails, this task can seem daunting, but don’t worry! This guide will walk you through the process step-by-step.
H2: Understanding the Anatomy of a Dog’s Nail
Before we dive into the actual process of cutting your dog’s nails, it’s essential to understand the anatomy of a dog’s nail. This knowledge will help you avoid causing any discomfort or injury to your pet.
A dog’s nail consists of two main parts:
- The quick: This is the inner, living part of the nail that contains nerves and blood vessels. In dogs with clear nails, it’s easy to spot because of its pink color. However, in dogs with black nails, it’s harder to see, making it more difficult to avoid when cutting.
- The shell: This is the hard, outer part of the nail that you’ll be cutting. It doesn’t contain any nerves, so your dog won’t feel anything when it’s clipped.
Here’s a simple table to illustrate these parts:
| Part | Description |
|---|---|
| Quick | Inner, living part containing nerves and blood vessels |
| Shell | Outer, hard part without nerves |
H2: Gathering the Necessary Tools
Next, you’ll need to gather the necessary tools. These include:
- Dog nail clippers: These are specially designed for dogs’ nails and come in different types like guillotine-style and scissor-style clippers.
- Styptic powder: This is used to stop bleeding if you accidentally cut into the quick.
- Treats: These will come in handy to reward your dog and make the experience more enjoyable for them.
H2: Preparing Your Dog for the Nail Trimming Process
Before you start cutting your dog’s nails, it’s crucial to make them feel comfortable. Try the following steps:
- Find a quiet, well-lit space where your dog can feel at ease.
- Get your dog accustomed to having their paws handled.
- Show them the nail clippers and let them sniff them.
- Give them a treat to associate the clippers with positive experiences.
H2: The Nail Cutting Process
Now that we’ve covered the basics, let’s get into the actual process of cutting your dog’s black nails:
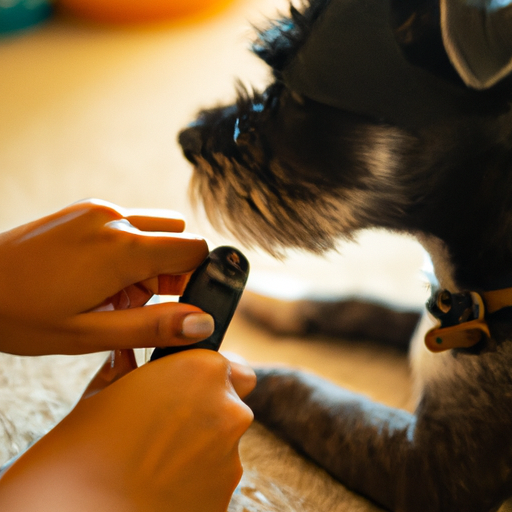
- Hold your dog’s paw firmly but gently.
- Position the clippers at a slight angle, matching the curve of the nail.
- Start by making small cuts. Aim to remove thin slices of the nail with each cut.
- Look at the cut edge of the nail after each cut. When you start to see a dark spot in the middle, that’s a sign that you’re getting close to the quick.
- Stop cutting once you see the dark spot.
- If you accidentally cut into the quick, apply styptic powder to stop the bleeding.
H2: Aftercare and Maintenance
Finally, after you’ve finished cutting your dog’s nails, give them a treat and lots of praise! Monitor their nails and behavior over the next few days. If they seem uncomfortable or their nails seem to be bleeding, contact your vet.
Regular maintenance is key to keeping your dog’s nails healthy. Aim to cut your dog’s nails every 3-4 weeks, but this can vary depending on your dog’s lifestyle and nail growth rate.
FAQs
Q: What if my dog is scared of having their nails cut?
A: Try to make the experience as positive as possible. Use treats and praise to reward your dog. You can also consider professional grooming services.
Q: How often should I cut my dog’s nails?
A: Typically, every 3-4 weeks. However, this can vary depending on your dog’s lifestyle and nail growth rate.
Q: What if I cut into the quick?
A: Apply styptic powder to stop the bleeding. If the bleeding doesn’t stop after a few minutes, contact your vet.
Remember, the key to successful nail grooming is patience, practice, and positivity. With time, both you and your dog will become more comfortable with the process. Happy grooming!