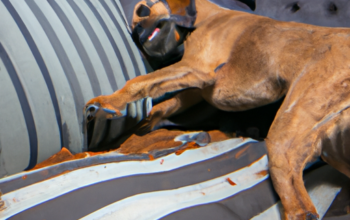
Dogs, like humans, can suffer from a variety of respiratory ailments. It might come as a surprise, but it’s possible to help your furry friend by learning how to blow a dog’s nose. This might seem somewhat unconventional, but when properly done, it can provide a great deal of relief to a sniffling canine companion.
Table of Contents
- Understanding Your Dog’s Nose
- When to Blow Your Dog’s Nose
- Step-by-Step Guide to Blowing a Dog’s Nose
- Safety Tips and Precautions
- Frequently Asked Questions
Key Takeaways
- Knowing how to properly blow a dog’s nose can help alleviate their discomfort.
- Always consult a veterinarian before attempting this.
- Follow a step-by-step guide for best results.
- Take special safety precautions and be mindful of your dog’s comfort level.
- Learn from frequently asked questions and answers.
Understanding Your Dog’s Nose
Just like us, dogs can suffer from respiratory issues. Their noses, which are much more sensitive than ours, can become blocked due to allergens, infections, or foreign bodies. A study published in the Journal of Veterinary Science suggests that nasal issues in dogs can lead to significant discomfort and health complications if left untreated.
When to Blow Your Dog’s Nose
Before you proceed with this procedure, it’s essential to understand when it’s appropriate. You should consider blowing your dog’s nose if they show signs of a blocked nose, like excessive sneezing, nasal discharge, or difficulty breathing. However, it’s crucial to reach out to a vet first. One Top Dog has a comprehensive guide on when to consult a vet regarding your dog’s health issues.
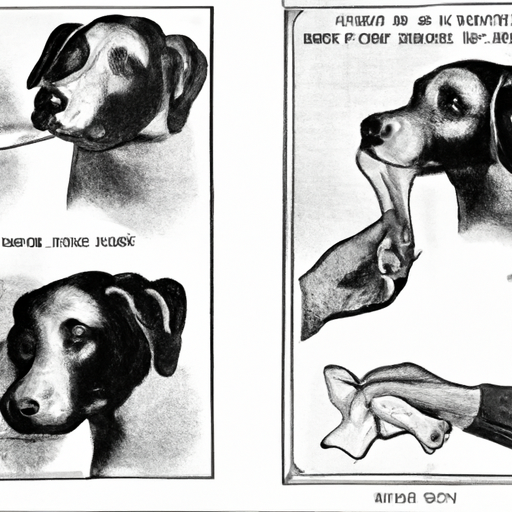
Step-by-Step Guide to Blowing a Dog’s Nose
- Preparation: Gather all the necessary materials. This includes a bulb syringe, a towel, and saline drops. Make sure to sterilize the bulb syringe before use.
- Calm Your Dog: It’s important to keep your dog calm throughout the process. A stressed or agitated dog might make the process more challenging. Try to reassure your dog by petting them or speaking in a soothing voice.
- Apply Saline Drops: Gently insert the tip of the saline bottle into your dog’s nostril and squeeze a few drops. This will help loosen any mucus.
- Blow the Nose: After waiting a few seconds for the saline to take effect, use the bulb syringe to gently blow air into the opposite nostril. This should help to clear the nasal passage.
- Clean Up: Once done, clean your dog’s nose using a soft cloth or tissue. Make sure to clean and sterilize the bulb syringe as well.
Safety Tips and Precautions
Blowing a dog’s nose can be beneficial, but it should be done carefully. Here are some safety tips and precautions to keep in mind:
- Always consult a vet before attempting this. If your dog’s symptoms worsen or persist, seek immediate veterinary attention.
- Never force the procedure if your dog is uncomfortable or resisting.
- Use a sterile bulb syringe and saline solution suitable for dogs.
- Be gentle and patient. Avoid causing stress or discomfort to your dog.
- Never blow air forcefully into your dog’s nose as it may cause injury.
If you’re unsure, One Top Dog offers a wide range of guides on dog health, including how to care for a sick dog and how to administer medication.
Frequently Asked Questions
Q: Can I use a human nasal spray for my dog?
A: It’s best to use a product specifically designed for dogs. Human nasal sprays might contain ingredients that are harmful to dogs.
Q: How can I tell if my dog’s nasal passage is blocked?
A: Signs of a blocked nasal passage in dogs include sneezing, nasal discharge, breathing through the mouth, and facial swelling.
Q: What can I do if my dog resists the procedure?
A: If your dog resists, it’s best to stop and consult a vet. Forcing the procedure can cause stress and potential harm.
In conclusion, knowing how to blow a dog’s nose can be a handy skill for any pet parent. Always remember to consult a vet first and ensure that you’re doing it in a way that’s safe and comfortable for your furry friend.