1. Understanding the Importance of Trimming Your Dog’s Nails
As a caregiver, one of your essential duties is to ensure the well-being of your dog. Trimming their nails is not just an aesthetic task but a health necessity, too. Overgrown nails can cause discomfort, difficulty in walking, and in severe cases, even result in deformities. Just imagine walking around in shoes that are too tight. Uncomfortable, isn’t it? That’s how your dog feels with long nails.
2. The Anatomy of Dog’s Nails: Know Before You Cut
Before you get started, let’s familiarize ourselves with the anatomy of a dog’s nail. Your dog’s nail consists of the hard outer shell, and the quick, a sensitive region that supplies blood to the nail. The quick is generally visible in dogs with lighter nails.
| Part of a Dog's Nail | Description |

| --- | --- |

| Hard Outer Shell | The visible part of the nail you'll be cutting. |

| Quick | The sensitive area within the nail. Be careful not to cut into this! |
In dogs with darker nails, the quick is harder to spot, which is why it’s crucial to trim slowly and patiently.
3. Tools You Will Need: The Right Equipment for the Job
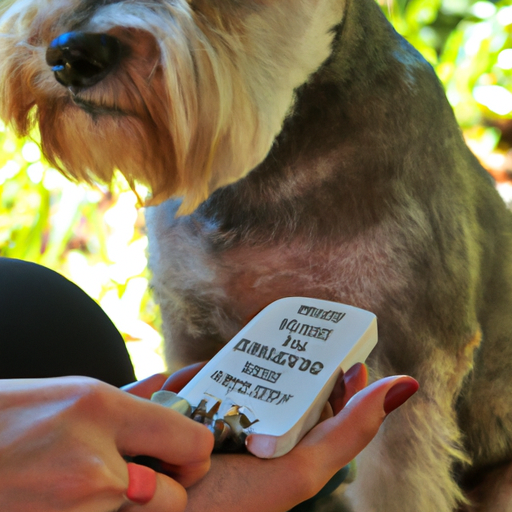
To trim your dog’s nails, you’ll need the right tools. There are several types of dog nail trimmers available, including guillotine-style, scissors-style, and grinders.
- Guillotine-style: These have a hole where you insert the nail. As you squeeze the handles, a blade moves up to slice off the end of the nail.
- Scissors-style: These work just like a pair of scissors. They are often used for dogs with larger, tougher nails.
- Grinders: These tools grind down the nail instead of cutting it. Some dogs prefer this method as it’s less pressure on the nail.
Choose the tool that you are most comfortable with and best suits your dog’s needs.
4. Step-By-Step Guide: How to Trim Your Dog’s Nails
- Find a comfortable spot: Make sure both you and your dog are relaxed and comfortable.
- Hold your dog’s paw firmly but gently: This will give you control while ensuring your dog isn’t hurt.
- Identify the quick: Be extra careful not to cut into this part.
- Start trimming: Cut the nails at a 45-degree angle. If your dog has clear nails, this means cutting until you see a small, pale oval. This is the start of the quick.
- Go slow: It’s better to trim a small amount more often than to cut too much at once.
- Give your dog a treat: This makes the process positive and rewarding for your dog.
5. Frequently Asked Questions
Q: How often should I trim my dog’s nails?
A: Generally, a dog’s nails should be trimmed when they touch the ground. For most dogs, this happens about once a month.
Q: What if I accidentally cut into the quick?
A: If you accidentally cut into the quick, don’t panic. While it will bleed and be painful for your dog, it’s not life-threatening. Use a styptic pencil or powder to stop the bleeding.
Q: My dog hates having their nails cut. What should I do?
A: Try to make the process as positive as possible. Use treats and praise, and go slow. If your dog continues to struggle, it might be best to have a professional do it.
Trimming your dog’s nails might seem daunting at first, but with patience, practice, and a lot of love, it can become a simple part of your caregiving routine. Remember, you’re not just grooming your dog; you’re also ensuring their comfort and health.


