Being a caregiver to our furry friends can often involve more than just feeding them and taking them for walks. One important but often overlooked aspect of canine care is ear cleaning. In this guide, we will walk you through the process step by step, ensuring that your dog’s ears are clean and healthy.
Why Should You Clean Your Dog’s Ears?
Just as with humans, dogs can suffer from a buildup of wax, dirt, and other debris in their ears. This can lead to discomfort, and in severe cases, infections. Dogs with floppy ears are particularly susceptible to ear problems as their ear shape can trap moisture and debris.
Here are a few reasons why regular ear cleaning is necessary:
- Prevent infections
- Remove debris and excess wax
- Check for ticks, mites, and other pests
- Reduce the risk of hearing loss
When Should You Clean Your Dog’s Ears?
How often you should clean your dog’s ears can depend on various factors such as their breed, lifestyle, and health history. As a general rule, it’s recommended to clean your dog’s ears once a month. However, dogs that swim frequently or have a history of ear infections may require more frequent cleaning.
Here’s a simple table to help you determine the cleaning frequency:
| Dog’s Lifestyle | Cleaning Frequency |
|---|---|
| Regular outdoor activities | Once a week |
| Frequently swimming | After each swim |
| History of ear infection | As advised by the vet |
Steps to Clean Your Dog’s Ears
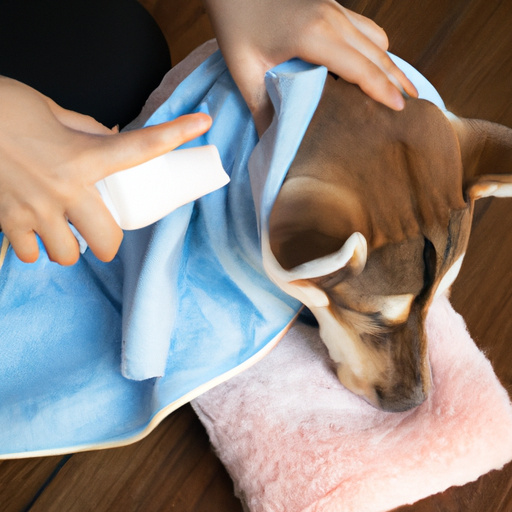
Cleaning your dog’s ears might seem daunting, but with the right tools and a gentle touch, it can be a painless process for both you and your furry friend.
- Gather Your Supplies: You will need a canine ear cleaning solution, cotton balls or gauze, and treats for rewarding your dog afterward.
- Calming Your Dog: Start by gently petting your dog and speaking to them in a soothing voice. This helps them relax and prepares them for the process.
- Applying the Cleaning Solution: Hold your dog’s ear flap up and fill the ear canal with the cleaning solution. Be careful not to insert the nozzle too deeply.
- Massage the Ear Base: After applying the cleaning solution, gently massage the base of your dog’s ear to help loosen any debris.
- Wipe Away Debris: Use a cotton ball or gauze to gently clean the visible part of your dog’s ear. Never use a Q-tip as it can push debris further into the ear or cause injury.
- Reward Your Dog: Always end the cleaning session with a treat to make the experience more positive for your dog.
Signs That Your Dog Needs a Vet
Sometimes, despite our best efforts, our dogs may develop ear infections or other ear problems. Here are some signs that your dog might need a vet’s attention:
- Persistent scratching or pawing at the ear
- Discharge or a foul smell from the ear
- Redness or swelling
- Unusual head shaking or tilting
Frequently Asked Questions (FAQs)
Q: Can I use human ear cleaning products on my dog?
A: No, human ear cleaning products may not be suitable for dogs and can cause irritation or adverse reactions.
Q: How can I tell if my dog has an ear infection?
A: Signs of an ear infection in dogs include redness, swelling, discharge, foul smell, and unusual behavior like excessive scratching or shaking of the head.
Q: My dog seems to be in pain when I clean their ears. What should I do?
A: Stop cleaning immediately and consult your vet. Your dog may have a medical issue that needs attention.
Q: Can I use water to clean my dog’s ears?
A: No, water can actually trap in the ear causing infections. Always use a vet-approved ear cleaning solution.
By incorporating regular ear cleanings into your dog care routine, you can help ensure that your furry friend stays happy, healthy, and comfortable. Always remember to be gentle, patient, and reward your dog afterward to make the process a positive experience for them.