As a devoted caregiver to your four-legged friend, it’s crucial to maintain their health and hygiene. One aspect of this is the often daunting task of nail trimming, especially if your dog is uncooperative. This guide will help you navigate through this process safely and effectively.
Understanding the Importance of Nail Trimming
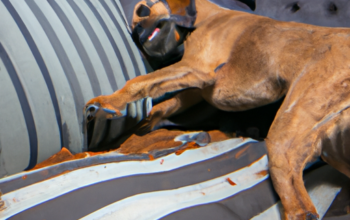
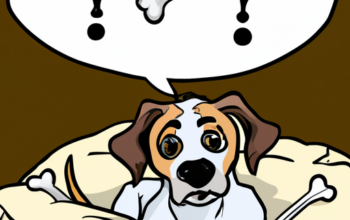
Regular nail trimming is essential to a dog’s health and wellbeing. Overgrown nails can cause discomfort, pain, and even lead to infection. Unfortunately, many dogs find this process stressful, making it a challenging task for their human counterparts. However, with patience, technique, and understanding, you can make nail trimming a less stressful experience for both of you.
Preparing Your Dog for Nail Trimming
Before diving in, it’s important to prepare your dog for the process. This involves:
- Building Trust: Spend time handling your dog’s paws regularly so they become comfortable with touch.
- Choosing the Right Tools: Invest in a high-quality nail clipper or grinder suitable for your dog’s size and nail thickness.
- Finding a Quiet, Comfortable Space: Choose an area that is calm and free from distractions.
The Nail Trimming Process
Now that you’ve prepared your dog, let’s dive into the process.
- Hold Your Dog’s Paw Firmly but Gently: This reassures them while preventing sudden movements.
- Identify the Quick: Be careful not to cut into the quick (the sensitive part of the nail). If your dog has light nails, you can usually see it as a pinkish area within the nail.
- Make a Clean, Confident Cut: Cut at a 45-degree angle, a little bit away from the quick. If you’re using a grinder, use it in short bursts to avoid overheating the nail.
Dealing with Uncooperativeness
If your dog is still resisting, here are some strategies:
- Use Treats and Praises: Reward your dog after each nail, reinforcing the process as a positive experience.
- Take Breaks: If your dog becomes too stressed, take a break and resume after they’ve calmed down.
- Enlist Help: If needed, ask a friend or family member to help hold your dog or distract them with treats.
Aftercare and Maintenance
After trimming, always check for any signs of pain or bleeding. If you accidentally cut the quick, apply a styptic powder to stop the bleeding. File any sharp edges left after cutting.
| Signs of a Successful Trim | Signs of a Problematic Trim |
|---|---|
| No bleeding or wincing | Bleeding or signs of pain |
| Smooth, short nails | Jagged or overly short nails |
| Calm dog | Stressed or fearful dog |
Finally, maintain a regular trimming schedule – usually every 3 to 4 weeks.
Frequently Asked Questions
Q: How often should I trim my dog’s nails?
A: Usually every 3 to 4 weeks, but it depends on your dog’s lifestyle and nail growth rate.
Q: What if I cut into the quick?
A: Apply a styptic powder and reassure your dog. If bleeding continues, contact your vet.
Q: My dog is terrified of nail trimming. What should I do?
A: Start by getting them comfortable with their paws being touched. Use positive reinforcement such as treats and praises. If needed, consider professional grooming services.
Remember, patience is key when it comes to nail trimming. It may take several tries before your dog becomes comfortable with the process. Always prioritize your dog’s comfort and safety over getting a perfect trim.