Drawing is a fantastic way to express creativity and let your imagination run wild. For caregivers, it’s also a great way to teach children how to draw or foster a common interest. Today, we are going to explore the world of dogs, one of the most lovable and commonly drawn animals.
H2: Understanding Dog Anatomy
Before we jump into drawing, it’s essential to understand the basic anatomy of a dog. Understanding the structure and form of a dog will help you draw a realistic and accurate representation.
Dogs typically have five main parts:
- Head
- Neck
- Body (split into chest and hindquarters)
- Legs (split into forelegs and hind legs)
- Tail
Below, you’ll see a simple table to help you visualize these parts:
| Dog Parts | Description |
|---|---|
| Head | Comprises eyes, ears, nose, and mouth. |
| Neck | Connects the head to the body. |
| Body | Divided into the chest (front) and hindquarters (back). |
| Legs | Comprises forelegs (front) and hind legs (back). |
| Tail | Varies in length, depending on the breed. |
H2: Gathering Your Drawing Materials
Now that we have a basic understanding of dog anatomy, let’s gather our drawing materials. Here’s what you’ll need:
- Sketchbook or drawing paper
- Pencil (HB or 2B are good choices)
- Eraser
- Sharpener
- Colored pencils or markers (optional)
Remember, the quality of your materials can affect your drawing, but they don’t guarantee a good drawing. Practice and patience are key.
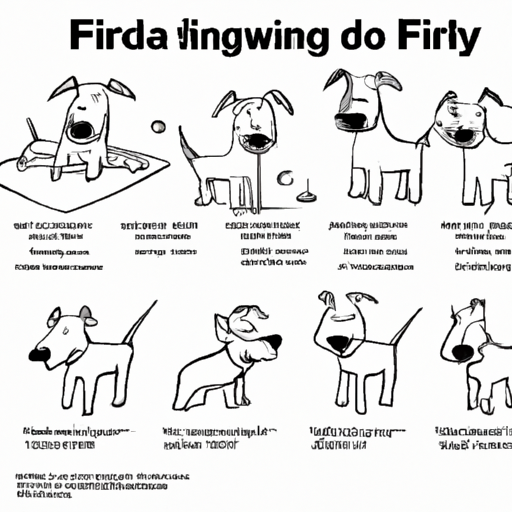
H2: Drawing a Dog – Step by Step Guide
Let’s get to the fun part – drawing a dog.
-
Outline the Body: Start by drawing two circles – a smaller one for the head and a larger one for the body. The distance between the two circles will be the neck.
-
Draw the Legs: Draw four lines coming down from the body circle for the legs. Remember, dogs have two forelegs and two hind legs.
-
Sketch the Head: Use the small circle as a guide to draw the head. Add in the eyes, nose, and mouth.
-
Add the Tail: Draw a line coming out from the back of the body circle for the tail.
-
Detailing: Add details, such as fur texture, ears, and paw lines.
-
Erase the Guides: Once you’re happy with your sketch, erase the guiding circles.
-
Final Touches: Go over your drawing with a darker pencil or ink, and color it if you want.
H2: Practice Makes Perfect
Drawing a dog, or any animal, requires practice. Don’t be discouraged if your first few attempts don’t turn out as you’d hoped. Remember, every artist starts somewhere, and it’s the journey that matters.
Try drawing different breeds. This will help you understand the diversity in dog anatomy and improve your skill.
H2: Frequently Asked Questions (FAQs)
Q: What is the easiest dog breed to draw?
A: The Beagle is often considered the easiest breed to draw because of its simple and distinct features.
Q: How can I improve my drawing skills?
A: Practice regularly, observe real-life objects or animals, and experiment with different techniques.
Q: How long does it take to get good at drawing?
A: It varies for everyone. The key is consistent practice and patience.
Q: How can I make my dog drawing look more realistic?
A: Pay attention to details like fur texture, shadows, and highlights.
Remember, drawing should be a fun and therapeutic process. Don’t stress too much about making your drawing perfect. As long as you’re enjoying the process, you’re on the right track.