Nothing beats the peace of mind knowing your beloved furry friend is safely contained within your yard. In this guide, we’ll walk you through the process of installing an electric fence for your dog. Remember, as the caregiver, you’re responsible for their safety, so let’s dive right in.
H2: Understanding the Basics of Electric Fences
Electric fences for dogs, also known as invisible fences, work by sending a radio signal from a central transmitter to a collar worn by your dog. When your dog approaches the boundary, the collar emits a warning beep. If your dog continues, it will receive a mild static correction.
Here’s a brief rundown of what you’ll need:
- Transmitter
- Receiver collar
- Boundary wire
- Training flags
- Wire connectors
H2: Choosing the Right Location for the Transmitter
The transmitter should be located in a dry, protected location, such as a garage or shed. It needs to be near a power outlet and should be away from large metal objects, which can interfere with the signal.
Consider the following when choosing a location:
- Distance from the boundary: Your transmitter’s range will dictate how close it can be to the boundary.
- Accessibility: The transmitter needs to be in a location where it can be easily accessed for adjustments.
H2: Installing the Boundary Wire
The boundary wire defines the area in which your dog can roam freely. It should be laid out in a continuous loop from the transmitter, around your yard, and back to the transmitter.
Here’s a step-by-step guide:
- Plan your layout: Sketch out your yard and plan where the wire will go.
- Install the wire: The wire can be buried, laid on the ground, or mounted on existing fences.
- Connect the wire to the transmitter: Use the supplied connectors to attach the wire to the transmitter.
H2: Setting Up the Receiver Collar
The receiver collar picks up the signal from the transmitter. When your dog approaches the boundary, the collar will beep and then provide a static correction if your dog continues towards the boundary. Here’s how to set it up:
- Install the battery: Ensure the battery is installed correctly and is fully charged.
- Set the correction level: Start at the lowest level and adjust as needed based on your dog’s response.
- Fit the collar: The collar should be snug but not tight, with the contact points touching your dog’s skin.
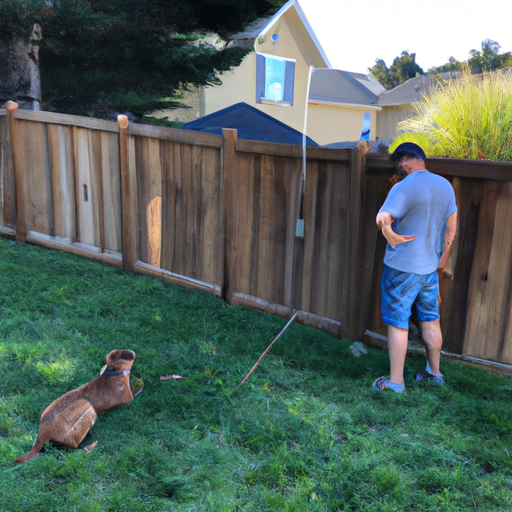
H2: Training Your Dog to Understand the Fence
Training your dog to understand the boundary is a crucial part of the process. This involves teaching them to respond to the warning beep and understand the consequence of crossing the boundary.
Here are some training tips:
- Start with a leash: Initially, keep your dog on a leash and walk them around the boundary, allowing them to hear the beep and feel the correction.
- Use flags: Place training flags around the boundary as a visual cue for your dog.
- Practice: Practice daily until your dog understands the boundary.
FAQ’s
Q: Can I install an electric fence myself?
A: Yes, with the right tools and this guide, you can install an electric fence yourself.
Q: Will the electric fence hurt my dog?
A: No, the static correction is mild and similar to the static shock you might feel from a carpet. It’s meant to get your dog’s attention, not to harm them.
Q: How long does it take to train a dog to understand the electric fence?
A: It varies by dog, but typically it takes a few weeks of consistent training.
Q: What happens if there’s a power outage?
A: If there’s a power outage, the fence will stop working. Some systems come with a backup battery for this situation.
Remember, installing an electric fence is just a part of ensuring your dog’s safety. Regular training and supervision are essential too. Happy fencing!