As a caregiver to your beloved canine, it’s essential to maintain their overall health and hygiene. One aspect that often gets overlooked is the need to remove excess hair from your dog’s ears. This guide will provide you with a detailed, step-by-step process to ensure your pup’s ears stay clean and healthy.
H2: Understanding the Importance of Ear Hair Removal in Dogs
Ear hair in dogs can actually serve a purpose by providing a barrier against dirt and pests. However, too much hair can lead to issues such as wax buildup, ear infections, and reduced hearing. For breeds with long hair, regular grooming and ear hair removal are typically recommended to prevent these issues.
H2: Identifying When Your Dog Needs Ear Hair Removal
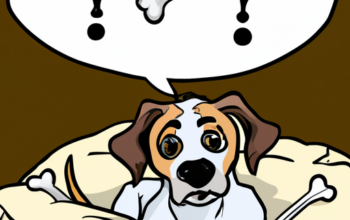
The need for ear hair removal can vary depending on the breed, age, and health of your dog. Here are some signs to look out for:
- Excessive scratching at the ears
- Head shaking
- Redness or swelling
- Unpleasant odor from the ears
- Visible hair protruding from the ear canal
If you observe any of these signs, it may be time for a trim.
H2: Tools Needed for Ear Hair Removal
Before you start, make sure to have all necessary tools and supplies on hand.
- Grooming Scissors: Choose a pair with rounded tips for safety.
- Hemostat or Tweezers: To pull out the hair.
- Ear Cleaning Solution: To cleanse and disinfect the ear.
- Cotton Balls or Pads: To wipe away debris or wax.
| Tools Needed | Why It’s Needed |
|---|---|
| Grooming Scissors | To cut hair |
| Hemostat or Tweezers | To pull hair |
| Ear Cleaning Solution | To clean ears |
| Cotton Balls or Pads | To remove debris |
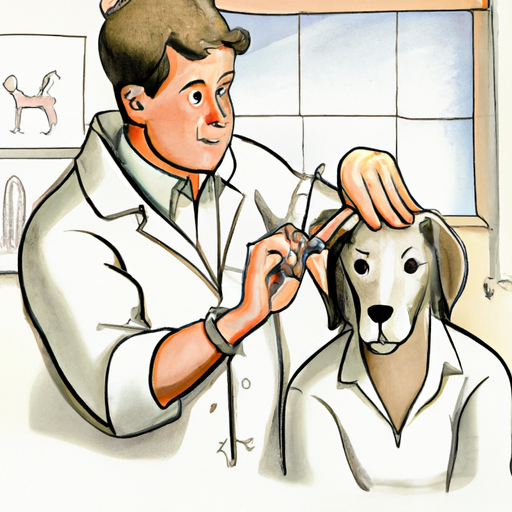
H2: Step-by-Step Guide to Removing Ear Hair
- Prepare Your Dog: Start by calming your dog and making them comfortable. Treats and positive reinforcement can be very helpful here.
- Trim Visible Hair: Use the grooming scissors to trim any hair that’s sticking out of the ear canal. Be careful not to cut too close to the skin.
- Remove Inner Hair: If necessary, use the hemostat or tweezers to gently pluck hair from inside the ear canal. Only do this if you feel comfortable and confident.
- Cleanse The Ear: Apply a vet-approved ear cleaning solution to a cotton pad and gently clean the ear, removing any wax or debris.
- Monitor for Reactions: Observe your dog for any signs of discomfort or adverse reactions after the process. Redness, swelling, or unusual behavior warrants a visit to the vet.
H2: Frequently Asked Questions
Q: How often should I remove hair from my dog’s ears?
A: This depends on the breed and individual dog. Some may need it monthly, others less frequently.
Q: Can I cause damage by removing ear hair?
A: If done correctly and gently, it should not cause harm. However, if you’re unsure, it’s always best to consult with a vet.
Q: What if my dog won’t let me touch their ears?
A: If your dog is resistant, you may need to seek the help of a professional groomer or vet. It’s important not to force the process.
Q: Can I just cut the hair instead of pulling it out?
A: Yes, you can trim the hair, but bear in mind this may not alleviate any wax buildup or potential infection.
Remember, your dog’s comfort and safety are paramount. If you’re ever unsure, always consult a veterinarian or professional groomer. Enjoy your grooming sessions as a bonding time with your furry friend, and keep their ears clean and healthy!