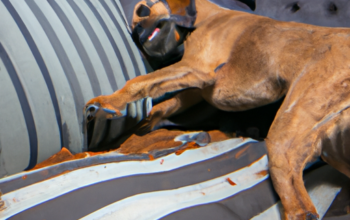
As a caregiver, your pet’s health and well-being is your top priority. One common issue pet owners often face is the pesky and dangerous presence of ticks. This guide will take you step by step through the process of safely removing ticks from your dog’s ear.
H2: Understanding the Threat of Ticks
Ticks are more than just annoying; they’re a serious threat to your dog’s health. These critters latch onto your dog’s skin and feed on their blood. The longer a tick is left untreated, the higher the risk of disease transmission. Ticks are carriers of various diseases, such as Lyme Disease and Canine Ehrlichiosis, which can lead to severe health complications if left untreated.
H2: Preparing to Remove the Tick
Before you begin the tick removal process, it’s important to gather the necessary supplies. Here is a list of what you’ll need:
- Tweezers
- Rubbing alcohol
- A small container with a lid
- Gloves
- Dog treats (for rewarding your brave patient!)
Remember, safety is paramount. Wearing gloves will protect you from potential diseases, and sterilizing your tweezers with rubbing alcohol can help prevent infection.
H2: The Tick Removal Process
Now that you’re prepared, let’s delve into the tick removal process.
- Step 1: Calm your dog down. This could be an uncomfortable process for them, so make sure they’re relaxed.
- Step 2: Gently hold your dog’s ear to expose the tick.
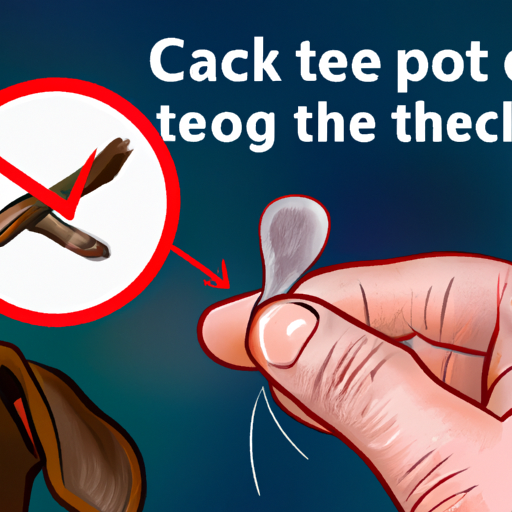
- Step 3: Use your tweezers to firmly grasp the tick as close to your dog’s skin as possible. Be careful not to squeeze the tick’s body.
- Step 4: Pull upward with steady, even pressure. Avoid twisting or jerking as this can cause the tick’s mouth-parts to break off and remain in the skin.
- Step 5: Once removed, drop the tick into your container and secure the lid. Dispose of the tick safely or bring it to your vet for testing.
- Step 6: Clean the bite area and your tweezers with rubbing alcohol.
| Steps | Description | Note |
|---|---|---|
| Step 1 | Calm your dog | Use treats or toys to distract them |
| Step 2 | Expose the tick | Be gentle, don’t pull too hard |
| Step 3 | Grasp the tick | Use tweezers, not fingers |
| Step 4 | Pull upward | Don’t twist or jerk |
| Step 5 | Dispose of the tick | Keep it contained |
| Step 6 | Clean the area | Use rubbing alcohol |
H2: Aftercare and Prevention
After removing the tick, monitor your dog for any signs of infection or illness, such as redness, swelling, loss of appetite, or lethargy. If you notice anything unusual, contact your vet immediately.
Prevention is always better than cure. You can prevent ticks by:
- Regularly checking your dog for ticks, especially after walks in wooded or grassy areas.
- Using tick prevention products like collars, sprays, or oral medications.
- Keeping your yard clean and trimmed to reduce tick habitats.
H2: Frequently Asked Questions
Q: How can I tell if my dog has a tick?
A: Ticks feel like small bumps on your dog’s skin. They’re often found around the ears, paws, and neck.
Q: What should I do if the tick’s head is still in my dog’s skin?
A: Contact your vet. They may need to remove it to prevent infection.
Q: Can I use a tick removal tool instead of tweezers?
A: Yes, there are specially designed tick removal tools available that can make the process easier.
Remember, as a loving caregiver, the health of your pet is in your hands. By knowing how to properly remove ticks, you’re taking an important step in ensuring their well-being. Be diligent, be patient, and above all, be loving.