“`markdown
How To Trim Dogs Nails At Home
As a devoted caregiver, you know the importance of maintaining your dog’s health and well-being. One crucial aspect of this care is tending to your dog’s nails. While it might seem daunting at first, regular at-home grooming can strengthen the bond between you and your furry friend. This comprehensive guide will walk you through the process step-by-step, illuminating the best practices for trimming your dog’s nails at home.
Preparing for the Task
Before you dive in, it’s essential to gather the necessary tools and prepare your dog for the process.
Required Tools
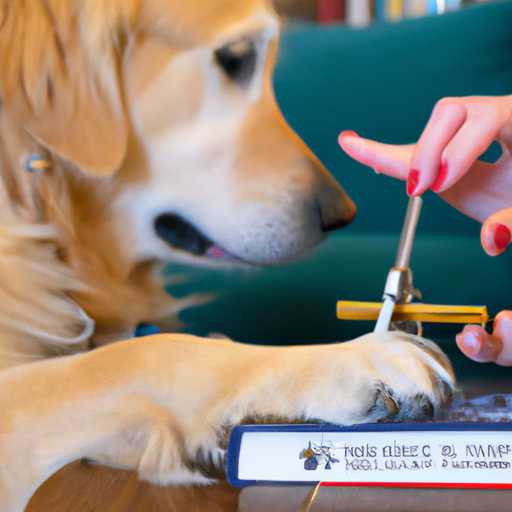
- Dog Nail Clippers: There are two types – the guillotine style and the scissor type. The guillotine style is easier to use but less effective on larger dogs. The scissor type is more suitable for larger dogs with harder nails.
- Styptic Powder: This will help stop bleeding in case you accidentally cut the quick.
- Treats: These will serve as a reward for your dog after the task.
Preparing Your Dog
- Start early: It’s easier to start this process when your dog is a puppy, but older dogs can learn too.
- Make it a positive experience: Use a calm voice and give your dog treats during the process.
- Get your dog accustomed to the tools: Let your dog sniff and inspect the clippers before using them.
Understanding Your Dog’s Nails
Before you start clipping, you should understand the structure of your dog’s nails.
| Part of the Nail | Description |
|---|---|
| The Quick | The sensitive part of the nail that provides blood supply. |
| The Shell | The hard, outer part of the nail. |
Be careful not to cut into the quick as it can cause pain and bleeding. It’s easier to locate the quick in dogs with lighter nails, as it’s the pink part. For dogs with darker nails, you’ll need to make smaller cuts and look for a dark spot in the middle of the nail. That’s the start of the quick.
The Trimming Process
Now, let’s dive into the actual process of trimming your dog’s nails.
- Hold your dog’s paw firmly but gently: Avoid squeezing the paw.
- Identify the quick: Remember, you don’t want to cut into this area.
- Start small: Make a small cut at the end of the nail and continue with small cuts until you see a dark, circular area.
- Apply styptic powder if needed: If you accidentally cut the quick, apply styptic powder to stop the bleeding.
- Reward your dog: After each nail, give your dog a treat.
Regular Maintenance
Like many aspects of your dog’s health, regular nail care is essential.
- Check your dog’s nails regularly: If they’re clicking on the floor, they’re too long.
- Stick to a schedule: Depending on your dog’s lifestyle, nail trimming might be required every two to four weeks.
- Integrate nail checks into your petting routine: Regularly handling your dog’s paws will make them more comfortable with the trimming process.
FAQ Section
Q. What if my dog is scared of getting his nails trimmed?
A. Start by just touching your dog’s paws regularly without trimming the nails. Gradually introduce the clippers. Remember to use treats and positive reinforcement.
Q. How often should I trim my dog’s nails?
A. Generally, every two to four weeks, but it depends on your dog’s lifestyle.
Q. What should I do if I cut the quick?
A. Apply styptic powder to stop the bleeding and give your dog a treat. It’s a common mistake, so don’t feel too bad.
Q. Can I use human nail clippers?
A. It’s not recommended as they can crush the nail and cause discomfort.
Q. How do I know if I’m cutting too short?
A. If you see a dark, circular spot in the middle of the nail, stop cutting. That’s the start of the quick.
By taking the time to trim your dog’s nails at home, you are not only saving trips to the groomer but also strengthening the bond between you and your pet. Remember, patience and positivity are key during this process.
“`


